At one point or another, you may need to reface your fireplace. Maybe you’re remodeling your home or just hate the look of the one that came with the house. Either way, our fireplace refacing guide below can help. Good luck!
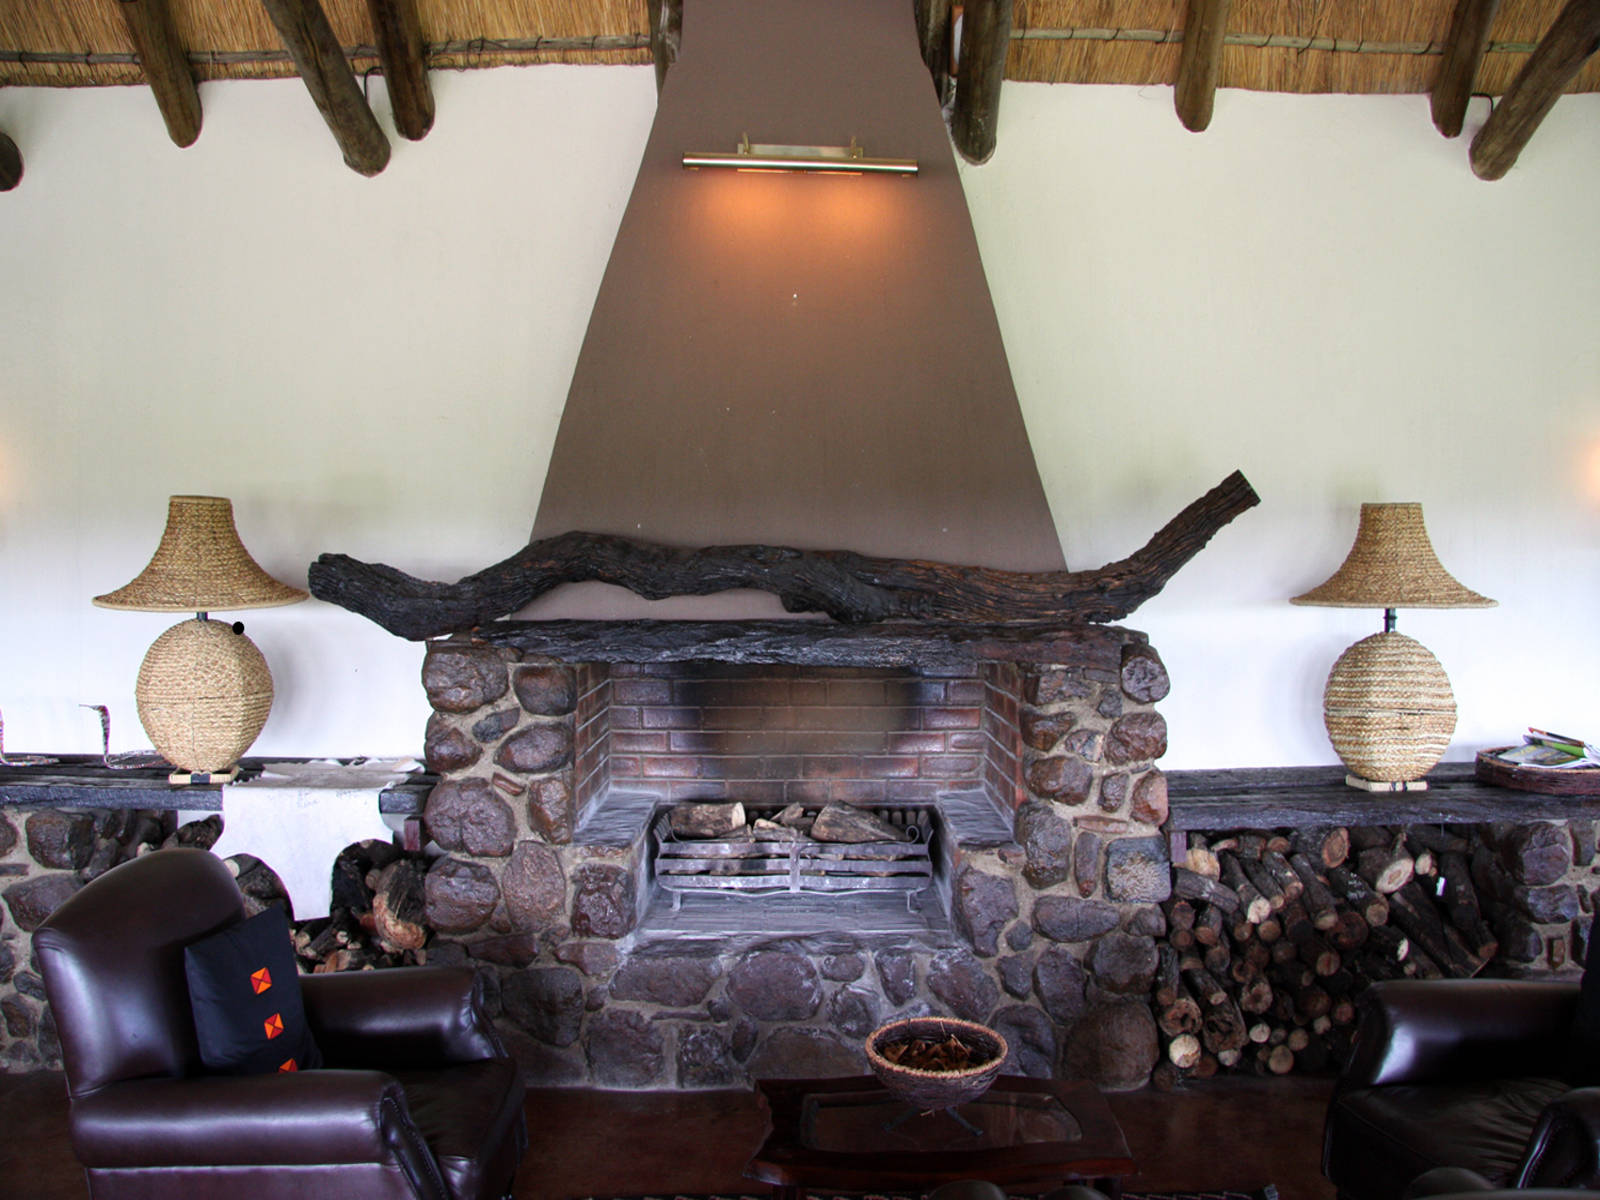
When refacing fireplaces, you’re going to have to consider what type of fireplace you already have. Brick fireplaces are easiest especially if they are unpainted because all you need to do is to clean it before refacing. Painted brick is a little more tedious because you’re going to need a backer board or a metal lathe just to get other materials to adhere to it. In some cases, the brick may even need to be removed and replaced with a different kind of material. Rock fireplaces are the most difficult because they present a lot of issues when it comes to refacing. It is a common practice to drywall over the fireplace and then reface with new stone but you have to be sure that this complies with the building codes of your state and locality.
Option 1: Paint
Paint is the easiest option when it comes to refacing your fireplace. All you need is any 100% acrylic latex paint, a paintbrush, and a pan. There are even paint refacing kits available that have everything you need for the project.
 Step 1: The first step in refacing a fireplace, no matter what material you are refacing it with, is to clean it. Remove excess mortar by chipping it away with a big screwdriver. This will make it easier for you to paint or stain the fireplace.
Step 2: Cover any areas that you don’t want covered in paint with plastic and tape.
Step 3: Pour paint in a pan and make sure it covers the bottom.
Step 4: Thoroughly coat the brush and paint on an inconspicuous area first.
Step 5: Let dry so that you can determine how the paint will look on your fireplace.
Step 6: If you’re satisfied, apply paint onto the whole fireplace with vertical strokes.
Step 7: Let dry and then paint on more coats until satisfied.
Option 2: Stucco
This type of refacing can be quite challenging but it will turn out beautifully if done properly. All it takes is a little hard work and determination.
Step 1: Clean the surface.
Step 2: Brush the surface with PVA concrete bonding agent. This can be bought at any hardware store.
Step 3: When the PVA is dry, apply a 1/8-inch thick layer of stucco mix and let dry for 2 days. However, make sure to occasionally mist it with a water bottle.
Step 4: Apply another layer in any thickness you want and let dry for 2-3 days.
Option 3: Stone
Step 1: Clean your fireplace as you would when refacing with paint and stucco but also wash it with water and mild soap to remove any greasy residue.
Step 2: When dry, make the fireplace even by applying a coat of stucco over it. Allow to dry for 24 hours.
Step 3: Think of how you want your stone facing to look like and arrange it on the floor or on a cardboard. Make sure you have the measurements of the fireplace and that you arrange the stone parallel with the measurements. Stones can either be cultured or real but real ones need additional support especially if the fireplace is located over a basement.
Step 4: Mix some mortar and spread half an inch thick of it over the stucco. Put the stones into place and hold them until they sink into the mortar. Start at the bottom of the fireplace and work upwards. Let dry for a number of hours.
Step 5: Mix some grout and apply it to the whole area. Use a scraper or a trowel to remove any excess. Leave it to dry for around 10-12 hours.
Step 6: If desired, use a spray to apply sealer so that the grout won’t stain.
Option 5: Tile
Step 1: Clean the fireplace.
Step 2: Smooth and level the surface of the fireplace by spreading a thin layer of mortar over it with a trowel. Let it set overnight.
 Step 3: Measure the top and the legs of the fireplace.
Step 4: Arrange the tiles in a dry-layout to determine how many of them you need to cut. When arranging the tiles, start from the top middle and then add tiles evenly on each side.
Step 5: Mark the parts that need to be cut with a pencil and a straight edge and cut them on a tile saw. Double-check if they can already fit in the fireplace.
Step 6: Spread some thin set onto the fireplace and press the tiles into place. Like the arrangement in the dry-layout, start from the upper center of the area. To make sure that each tile is properly adhered to the surface, press and slightly twist it when putting it in place.
Step 7: Let it dry for a day and then use a grout float to fill the joints with grout. Use a damp sponge to remove the excess grout but make sure that it’s not too wet because this will reduce the grout’s color.
Step 8: Construct an expansion joint by placing a bead of caulk in the joint between the hearth, tile legs, and vertical part of the fireplace.
Option 4: Sheetrock
 This is probably the most costly, difficult, and time-consuming type of refacing but it can give you the effect of having a real wall instead of a fireplace. However, you have to make sure that the local code requirements are met and that the sheetrock is not very close to an open flame. This type of refacing is great for major remodeling projects but it may be better to leave it to a professional, who will basically just hang the sheetrock and paint it like a wall.
When working with any of these methods, it is advisable to use safety gloves and to cover the floor with old newspapers or tarps so that the materials don’t spill. In cases where you need to use nail or staple guns, such as when you are using a metal lathe, make sure to use safety goggles.
There are many different do-it-yourself fireplace refacing ideas available for you to choose from. However, it is important to keep in mind that these have to comply with the building codes of your state and locality. If you are not sure about these codes and if you don’t have the time and energy to reface your fireplace by yourself, you can always hire a mason or a professional and not worry about anything. This, however, can be quite expensive. Either way, a properly refaced fireplace can greatly improve your home.
