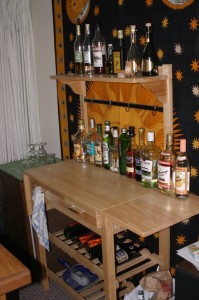
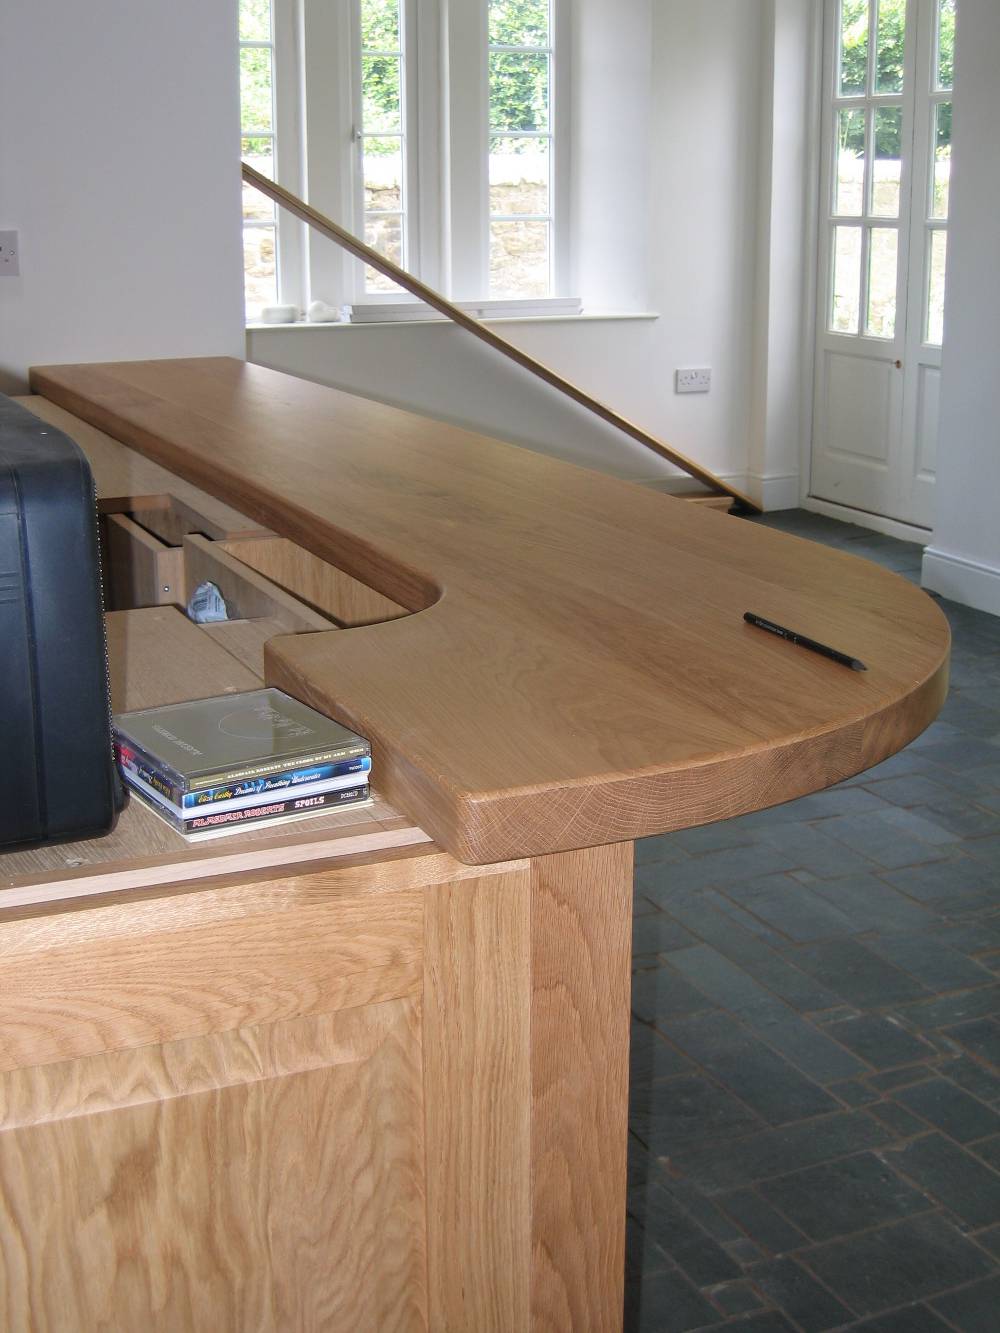
If you’re the type that loves to entertain guests with drinks than a home bar might be perfect for you. It can be quite expensive to get one made custom, so why not try building one yourself? This article provides helpful tips on making your own home bar with bar top epoxy.
Step 1: Choose a location: Although this might not seem like an important step, never skip it. Choosing a location will help determine the shape and size of the bar.
Step 2: Choose a design/theme: Grab a design from a local decorating store or make your own stencils. Having a too many different decorations on one bar may make it look cluttered, so consider setting a unified theme.
Step 3: Budget: It’s always a good idea to set a budget before starting any DIY project. Make sure to keep all expenses within the budget so the wife / husband won’t get mad.
Step 3: Determine the features that you want your bar to have: Each bar is different from one another. Depending on your taste and budget, you can choose to add features such as keg storages or a mini-fridge.
Step 4: Build your bar: Actually building the bar is quite difficult. In fact, only a skilled handyman can get around to perfecting this. If you are not one, you can always look in classified ads, hire a carpenter, or search online.
If you want to build the bar yourself, simply follow these steps:
1.) Take measurements of the location and estimate your bar’s own measurements from there. Take into consideration water lines and electrical outlets.
2.) Sketch the plan (in every angle possible) on a graphing paper so measurements are accurate. It would be better to show this to a professional just to make sure that you are doing it correctly.
3.) Using pressure treated two-by-fours, make the outline of your bar and then use three-quarter inch plywood to cover it.
4.) Cover the outline with whatever exterior you want your bar to have. If you choose wood, make sure to stain or paint it before mounting it to avoid hassle.
5.) Place shelves using half-inch plywood for your beverages.
Step 5: Stock up: Stock up your bar with your favorite beverages and get the party started!
How To Build A Portable Bar
 Although a home bar is wonderful, many people would prefer their bars to be portable. This will widen their location options for entertaining people. Portable bars are also very useful to people who sell alcohol for a living. There are many kinds of portable bars but most of them are quite expensive. Fortunately, there are a lot of ways to build your own. Below is a creative way of making your own portable bar.
Step 1: Look for a bookcase that has a solid bottom and back. It doesn’t matter what size it is as long as it can hold a lot of storage and the top is wide and tall enough to be worked on.
Step 2: Measure the width of the shelves. Cut a 1×3 piece of board that can fit the shelf. This will be used to keep the glasses and bottles from falling from the bar.
Step 3: Paint or stain the boards so that the color matches the bookcase.
Step 4: Attach one board to the outer edge of the shelf at the bottom so a small box is created. Attach the other boards on the other shelves.
Step 5: Use wood screws to attach casters to each corner of the bottom of the bookcase.
Step 6: Add Christmas lights or other portable lights under each shelf using a staple gun for illumination.
Step 7: Add anti-slip mats on the inner shelves so that there are fewer chances of your drinks or glasses breaking.
Step 8: Add glass and bottle holders to the shelves if desired.
Step 9: Stock up your bar with your favorite beverages and you are ready to party wherever you go. Just remember to lock the brakes before making any drinks so that your bar won’t go rolling around the place.
How To Apply Bar Top Epoxy To The Bar You Just Built
Bar top epoxy is an adhesive that doubles as a bar top finish. It can prevent stains, scratches, and scars from reaching the surface of the bar. It is a two-part mixture that hardens into a plastic shell when blended.
Although other finishes like lacquer and polyurethane can be used, epoxy has qualities that the other two don’t have. An epoxy bar top finish is thicker, has a longer life, and looks much cooler than the other two finishes.
Here are some helpful tips when applying epoxy on your bar top:
Step 1: When applying epoxy, work somewhere where there is no or minimal sunlight.
Step 2: If you are working with a wooden bar top, spray lacquer on it first so there will be no pores and then wipe it with Windex.
Step 3: Surround the floor with newspapers or old tarps because the epoxy may drip and ruin the floor.
Step 4: Duct tape the edges of the table but leave some tape to stick out of the sides. This prevents the epoxy from dripping.
Step 5: If you don’t have materials for pouring the epoxy, use an ice pick to make a hole in a bucket. Tape the hole while you make the epoxy mixture in the bucket.
Step 6: Mix some liquid glass epoxy resin as instructed in the directions. Make sure that the catalyst and mix are measured accurately. When mixing, use a metal stir stick and mix until there are no more bubbles. Also make sure to mix in small portions because epoxy tends to heat up when poured thickly or when mixed in a big container. If you are using regular table epoxy, you can also get rid of the bubbles by using a heat gun or a torch.
Step 7: Take off the duct tape from the hole and then pour the epoxy mixture onto the bar top slowly. Spread the mixture evenly by moving the bucket over the area at an even pace. It is also a good idea to work on a leveled area so the layers of epoxy will be even. Apply a thin first layer and let it dry for around two to four hours. The first layer of epoxy is applied so the surface is sealed and air bubbles are prevented from being trapped under the second layer.
Step 8: When the first layer is dry, apply a slightly thicker layer. Apply around 3-4 coats, allowing the epoxy to harden before applying the next one.
Step 9: The epoxy will harden after several hours but it will only completely cure after 2-3 days.
There are many kinds of epoxy available on the market today. When choosing one, make sure to get one that is specifically labeled for coating surfaces such as tables. It’s also a good idea to choose one that offers UV protection. Other kinds of finishes may ruin your bar top or fail to completely cure.
This actually happened to a friend of mine. He built a home bar from scratch and ruined it because he put the wrong kind of epoxy on top. It never cured! Please don’t let it happen to you!
Epoxies have a tendency to fade and become slightly yellow with time but those with UV protection take longer to fade and the changes are not so noticeable. Keeping your bar away from direct sunlight will ensure longer and better protection.
Epoxy is sensitive to heat so placing hot items on the bar top without something under it may ruin the epoxy. When used correctly, epoxy can protect your bar top for many years. It can also be reapplied after a few years to ensure the longevity of its durability.

I just took on a building with this type of floor, is it pssoible to buff epoxy to remove scuff and scratches, I have a 2000 rpm burnisher. Once I get these floors ready I am going to 6 coat them with a sealer and burnish weekly, just waiting on the budget guys to get back to me before I start anything