As always, make sure you are in a well ventilated area before you begin any painting project. Repainting furniture black or white without the windows open could cause serious health problems!
This post will explain some furniture painting techniques that are known to work on almost any piece of wood furniture. Let’s begin:
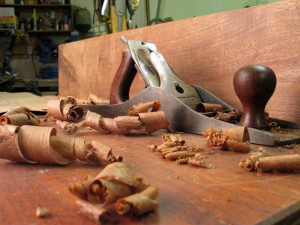
1. Prepare the furniture to be painted black or white by laying down some newspapers. Disassemble the furniture as much as possible to make it easier to paint. Dressers, coffee tables, cabinets, etc. shouldn’t have any drawers intact when you begin repainting furniture.
2. Sand the piece of furniture until the shiny gloss has completely disappeared. This post on refinishing wood furniture provides an excellent guide on different methods to sand. If you’re working with teak furniture we have another post more specific to that too.
In short, it’s always better to start with around 90-110 grit sandpaper and move up to finer grits from there. Usually it takes three different sandpaper grit types before the furniture is ready to be repainted. Furniture finished with wax will be more of a paint and will require much more sanding. Before moving on to step 3, clear any leftover sawdust with a rag or brush. A hand vacuum can work too if you have one. As always, take the proper safety precautions with gloves, goggles, and a dust mask.
3. Now it’s time to apply the primer. A good oil-based primer is always better than water, but it’s not as eco-friendly. Nowadays it’s pretty easy to find a water-based primer that is just as good as an oil-based one, but I’d stick with oil just to be safe.
You can either spray-on or brush-on the primer depending on the size of the furniture. White primer is obviously recommended if you’re repainting furniture white and black primer is suggested if you’re repainting furniture black. Leave the primer for about 2-3 hours until it has completely dried. An important furniture painting technique to follow is to always brush in line with the grain. Make sure to re-primer if the coat looks uneven or thin in some areas.
 4. You’ve made it to my favorite step, painting! Begin by testing the paint on the furniture with the black or white paint you have chosen. I prefer using Rust-Oleum® paint, but you can use any brand, but watch out for the discount paint as it can sometimes come out looking very ugly. I like the look of semi gloss paint because it gives the furniture a smoother finish. You can buy tiny amounts of different sheens to determine the perfect color for your furniture.
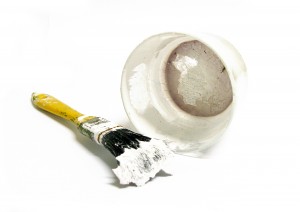
5. Mix the paint well with a paint stick and apply your first thin coat. I recommend applying about 4 thin coats and letting each one dry before applying the next one. You may have to spread the painting out for a couple days to get the best results. The more thin coats that time allows the better the overall project will turn out.
Another furniture painting technique is to paint flat sections with longer strokes and shorter sections with short strokes. This will give the wood a nice smooth and glossy finish. If you’re not happy with how things turned out just sand it down and try again. I like to be able to see the grain after I paint the wood black or white so that it still actually looks like wood.
6. That’s it! All that’s left now is the cleanup. Make sure to rinse your brushes off with water so that they don’t get ruined. Grab a hammer and secure the lid on the paint to keep it fresh for any touchups.
Good Luck!

