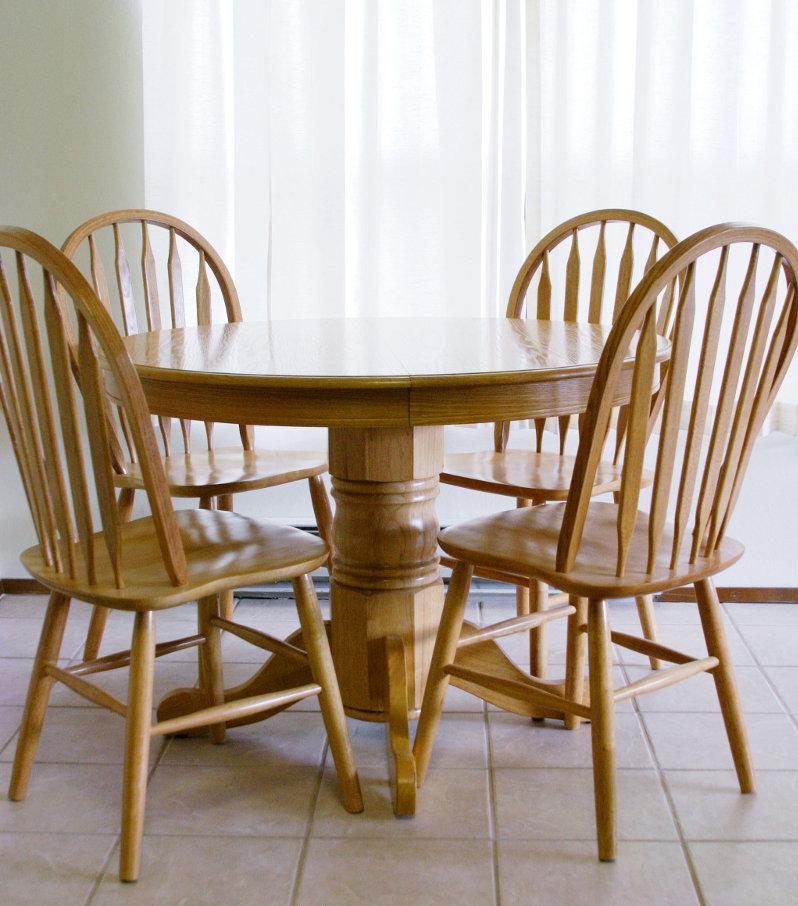
The first step to refinish wood furniture requires removing the existing finish. This is probably the most cumbersome step in refinishing, but once it’s done the rest will be a piece of cake. Remember, if this is your first time, pick wood furniture that isn’t too valuable to gain some experience.
Method 1. Chemical Paint Stripper
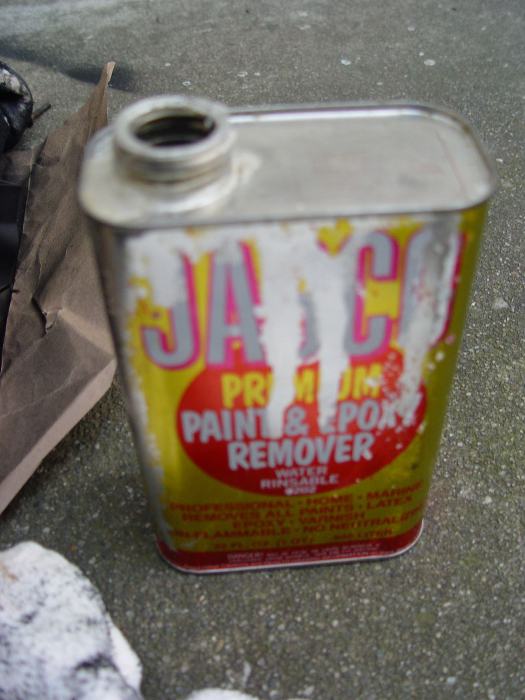
 To easily refinish furniture, a chemical paint stripper like the Citri-Strip QCG73801T Paint and Varnish Stripping Gel is recommended. Paint and oil-based finishes on furniture will require much pungent chemicals in order to be removed. Unfortunately, these often come with intoxicating fumes. It is a good idea to take any furniture that you plan on striping into the garage to avoid injury. When refinishing wood furniture with a chemical paint stripper it’s important to test a few drops on a small corner first. If you see the finish start to bubble it is a good bet that it is latex. This can be the easiest type of finish to remove, just scrape it up when it gets loose and make sure NOT TO LET IT DRY. Start with a sharp knife and finish up with some kind of steel brush if you have one.
If you don’t have a steel brush you may be interested in reading this post to find an alternative: Types of Paint Bristles, Paint Brushes, Pads and Rollers
If nothing seems to be happening, you need to buy an oil based paint remover. These are usually very think and heavy duty, which means they can handle multiple layers at a time. If you brought the furniture outside, just wash it down with a hose when you’re finished. This may cause some distortion in the wood when it dries, but if you follow the manufactures directions you should be fine.
Method 2: Sanding
 Once the wood is dry, always remember to sand with the lines of the grain, not against them. Going against the grain can produce damages to the furniture that is almost impossible to remove once created. Large scratches, dents, scuffs, or dings should usually be sanded out with 50-30 grade sandpaper. Don’t freak out when large scratches are formed, as long as they are all going the same direction they will be easy to smooth out later. Once all of the finish is removed, a final touch up with finer sandpaper should be applied. Anywhere between 180-100 grade sandpaper should suffice. This process can be very tedious, which is why many people prefer using an electric sander. There are many new revolutionary power sanders like the DEWALT D26453K that can make sanding curves and corners much easier. Most use a combination of both methods to get better results. If you’re looking to save time, I suggest starting with a chemical paint stripper and finishing up with some fine sanding.
This next method of refinishing wood furniture can be dangerous!
Method 3. Heat Guns
Not a popular method, but valuable if stripper and sanding don’t seem to be working. Heat guns are great at softening the surface of the wood thus making it easier sanding. A heat gun can be extremely dangerous, so be sure to wear goggles and gloves before pursuing. Never use the heat gun on lead based paint, consult a professional if you’re not sure what type of wood you’re working with. Heating lead based paint when refinishing wood furniture can cause toxic fumes that might lead to brain damage. If you’re sure you are working with lead based paint, skip this step and stick with sanding. Make sure to read the directions before heating and never hold the gun over the same spot for more than 10 seconds. This can cause a fire and ruin your precious desk, bookshelf, or table.
Related Articles:

Here’s a great woodworking tip I was recently shown while building furniture. It’s how to quickly bury a nail (a.k.a. blind nailing) so you don’t have to file them off. It’s easy, just follow these steps:
1.) Use a 1/2″ wood chisel to “flare” up the wood grain
2.) Slip nail underneath the “flared” wood
3.) Set the nail a little underneath this flange
4.) Add wood glue, set, sand, stain, and finish
Voila! The nail is virtually invisible.