Category Archives: How-To Guides

faux finish furniture

How To Faux Finish Furniture

Faux finishing is almost as simple as repainting furniture. However, unlike simple painting where you just change the color, faux finishing adds a little more detail to your furniture. It will not only give your furniture a new look but it can also add character to it. There are many ways to faux finish furniture. Listed below are just some examples. Continue reading How To Faux Finish Furniture

how to whitewash furniture chairs

Whitewashing Furniture

Whitewashing furniture is done to brighten and protect the furniture and to bring out the wood grain’s pattern. It gives your furniture a semi-transparent and wax-like coating which gives it more texture. It can also be referred to as pickling, liming, or antiquing, depending on the type of wood you are working with. Whitewashing is best for furniture made of pine. Continue reading Whitewashing Furniture

waterproof paint for wood

How To Waterproof Wood Furniture

Everyone wants their furniture to be durable, but at the same time look appealing. Different kinds of finishes are made to address this problem. However, not all of them can withstand water. Fortunately, there are different kinds of waterproof paint for wood that can help with this problem.

Waterproofing Wooden Outdoor Furniture

Waterproofing wooden outdoor furniture is important because this type of furniture is constantly exposed to harsh elements. Simply buy some Krylon 1311 Water Resistant Matte Finish spray from Amazon and you’ll be on your way.

Spray varnish is a relativity new invention that is much more practical than paint. It only takes 15 minutes to dry and cures completely within a day. It can also be used on other types of outdoor furniture like metal and masonry.

When working with this type of lacquer, make sure that there is low humidity and that the temperature is not below 50 or above 85 degrees. Clean the surface you are going to waterproof with a brush, sand, and then use a tack cloth to wipe it after. Use a drop cloth to cover the area you are going to work on and then spray the air near the surface from side to side. It is best if you apply a lot of thin coats rather than a few thick ones. Let dry and only use after a day.

Learn about the strongest waterproof wood glue here.

Waterproofing With Tung Oil

Tung oil has been used for many years as a wood ship preservative in China. This is because Tung oil can penetrate wood and form a water repellent layer. I recommend using Hope’s 100% Tung Oil for the best results. This will accentuates the wood’s grain and make it a little darker than the original.

Before applying Tung oil, make sure to sand the surface first because the oil will not be able to hide any scratches or blemishes that are left behind. Then, apply some oil on a clean rag and rub along the wood’s grain. It is a good idea to start on the areas that are harder to reach first to avoid drips and runs. Leave the surface alone for around 30 minutes and then remove excess oil by rubbing with another clean rag. Let it dry completely before using. This usually takes weeks but the wood already absorbs the oil in around 24 hours. For best results, 3 coats should be applied. Also, make sure that you sand after each coat application.

Learn about repairing outdoor wicker furniture with Tung oil here.

Waterproofing With Polyester Resin And Acetone

Another way to waterproof your furniture is by using a polyester resin and acetone solution. This waterproof paint for wood, however, is not recommended because you can’t control the outcome of the color. However, you can test the color by trying it on an inconspicuous spot or on scraps first. To use this, thin some resin with acetone until it looks similar to thick water. This will help the resin soak deep into the wood, making it tolerant of the wood’s flexing capability. Because of this, cracking and separation of the paint is prevented.

waterproof resin for woodWhen using polyester resin and acetone, you’re going to have to put on several coats. After your every application, mix more of the solution, but add less and less acetone each time. To know if you have enough coats, there are no more changes in the color of the solution. Waxed resin should be applied as the final coat and then the surface must be sanded after.

Waterproofing your furniture will not only protect it and increase its lifespan, but it will also keep it looking beautiful. There are many kinds of waterproof paint for wood that you can use in waterproofing your furniture. Some of them, however, may not be compatible with the wood’s original color. Knowing the different ways of waterproofing your furniture can help you determine which method to use for your furniture.

Waterproofing can prolong the life of your furniture especially if the furniture is located outdoors. There are many different kinds of waterproof paint for wood that you can use for your furniture. Because all of them are effective, it is really up to you to decide which one to use.

antique furniture

5 Steps To Antique Furniture

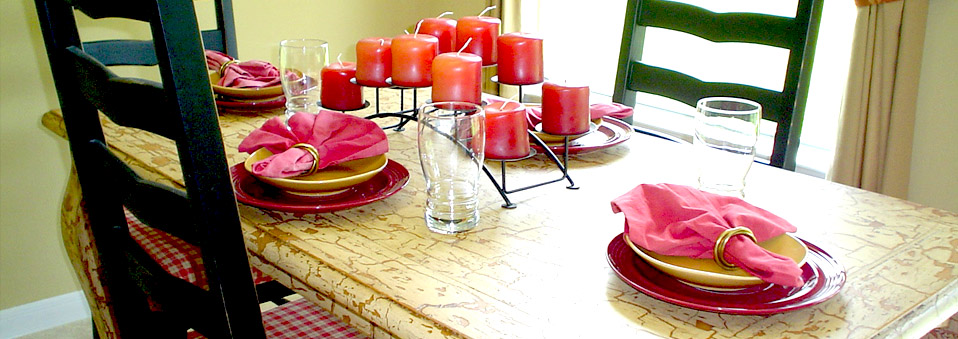
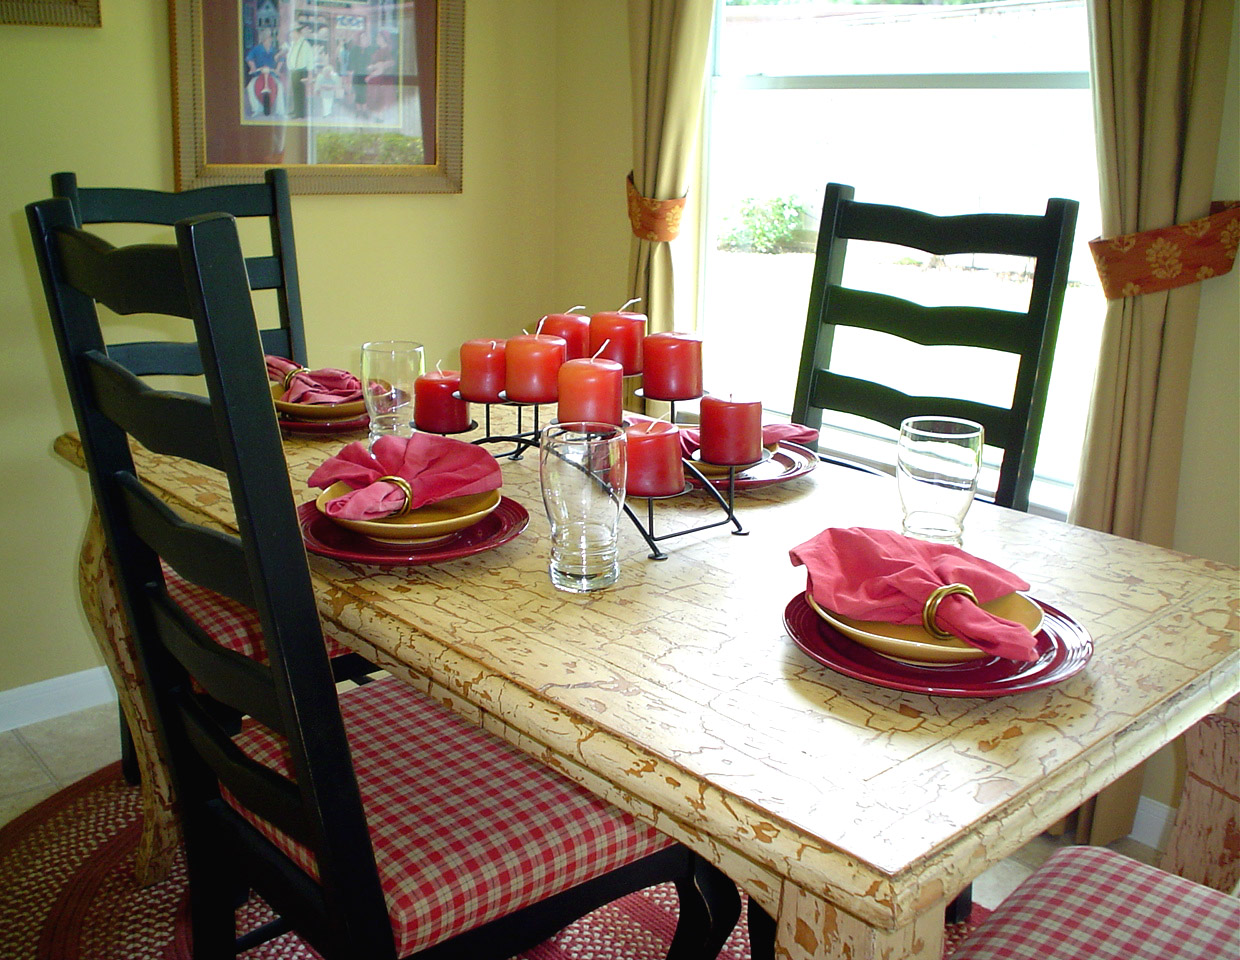
Antiquing furniture is a process of painting techniques that can make any piece of wood look old or worn.

Giving your furniture an antique look will give it a touch of character without diminishing its quality. There are many antique painting techniques you can try, but this article will outline the one that I’ve found to work the best.

Always begin any painting project in a well- vented area to prevent any dangerous fumes from entering your lungs.  A pair of painter’s gloves is probably a good idea too.

Step 1. Sanding
To achieve the best results it is always better to sand the entire piece of furniture to a nice smooth surface. Check out this article on refinishing wood furniture for a detailed outline of sanding and stripping techniques. If your antiquing furniture goal is to only create wear and tare on certain spots, sanding the entire bookshelf, table, chair, sofa etc. is not necessary. Try thinking of places on the furniture that would normally receive excess use and keep your sanding preserved for those spots. Corners, knobs, handles, and other areas of typical human contact are usually a good start. Before moving on to step 2, make sure the piece of furniture you have chosen is completely dry and wiped clean of any excess dust.

Step 2. Prime

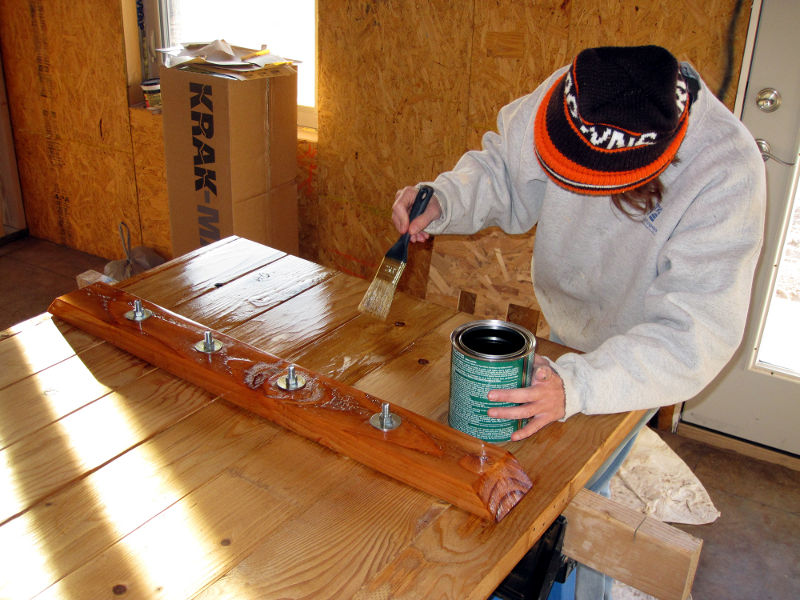
When starting any painting job it is a good idea to pick a good prime to achieve the best results.
Apply the first coat over the areas of the furniture you wish to antique. The prime color will show through slightly, so it is recommended to use a darker color, preferable an oil-based one like the Rust-Oleum 207014 Marine Wood and Fiberglass Primer 1-Quart. Latex and water-based primers are decent, but I would only recommend them if you absolutely cannot paint in a well-ventilated area.

Note: Latex and water-based primers are also slightly better for the environment.

Step 3.

Antiquing Furniture With Paint Using a Crackle Finish

Painting with a crackle finish is the easiest method for antiquing furniture and is often the most effective. When antiquing furniture with paint it might be a good idea to practice on a sample piece of wood before you begin. You don’t want to go through that awful sanding process again do you?

Begin by applying a crackle finish to the areas of the bookshelf, sofa, chair, table etc. that you want to refinish. For smaller projects, the best selling Delta Ceramcoat Crackle Medium, 8 oz. is your best bet. If you’re tackling a larger project, the Golden Crackle Paste – 128 oz, Crackle Paste would be a better deal. It looks like a white paste and should be applied sparingly. If you are working on a smaller project, like a jewelry box or flower pot, the crackle paste can be applied in one sitting. If a larger project is your goal, tape off any areas you do not wish to paint and work on one area at a time. Again, depending on the size, decide if a brush or roller will you give better results. Once the finish has dried, usually about 45 min, prepare to apply the topcoat of paint. Your window to apply the topcoat is very limited, it’s important to make sure you’re around when it dries.

Note: This is the antique painting technique that I have found to work the best. There are many different methods.

antique benchStep 4. Applying the Topcoat

Now comes the tricky part, applying the topcoat. You can use a sea sponge or a paint brush to apply this coat, but you must move fast! A sponge will give you a more random and skinny crack while a paint brush will produce much bigger ones. You can expect a paint brush to produce cracks in the direction that you used to brush. If you are painting a large surface, like a desk or bookcase, a paintbrush is going to work the best. Start in a corner and move on immediately after the topcoat has been applied, remember you need to move quickly! Once the paint has been sponged or brushed onto the surface, the crackling process will start almost instantaneously. If you go back and apply more paint you will just make a huge mess of things.

Step 5. Cleanup and Finishing Touches

Clean up any newspapers and masking tape you have lying around and wait for the topcoat of paint to dry. Also make sure to wash any paintbrushes clean of paint to avoid running them.

Some people prefer to add some dings and scratches when their done antiquing furniture. You can use tools such as a screwdriver head or pliers to create these, but a plethora of household items will work. These marks tend to show up better depending on the type of topcoat and primer you decided to use. Again, test everything out on a small piece of wood before beginning on a project of this magnitude. You wouldn’t want to mess up your brand new piece of furniture.

How to Refinish Maple Furniture

It’s always important to learn about the characteristics of the wood you’re about to be refinishing before beginning any new project. Refinishing furniture requires patience, attention to detail, and some good ole fashion elbow grease. But I know you can do it! And trust me it really is extremely rewarding when its done.

Continue reading How to Refinish Maple Furniture

Refinishing Techniques when Staining a Table

Most tables, like all other things in the world, deteriorate over time. Because they are used on a daily basis, tables usually wear out long before other furniture does. However, this is not a cause for worry since you can actually improve its appearance yourself. This article talks about how to refinish a table and make it look brand new.

Refinishing a table is a messy job so the first thing you have to do is to pick out a ventilated workplace and cover it with newspapers or tarps. When the workplace is ready, wipe the table with a rag to remove dust and debris and then remove the old finish by using sandpaper, electric sanders, heat guns, or chemical strippers. Chemical strippers or paint removers are usually the most used when it comes to removing old finishes since it is the easiest to use and it gets the job done much quicker. However, make sure that you use the correct stripper and that you follow the instructions that come with it. Also, use gloves and eye protection when working with these so as to avoid being contaminated by chemicals. Apply the stripper to the table and let it sit for as long as it says in the can. When it is ready, remove the old finish by using a putty knife and steel wool. After stripping the finish off the table, use a sandpaper to smoothen it and then clean it with mineral spirits or paint-removal wash. This job will be much easier if you can disassemble your table into parts.

Continue reading Refinishing Techniques when Staining a Table

Repainting Furniture Black or White

As always, make sure you are in a well ventilated area before you begin any painting project. Repainting furniture black or white without the windows open could cause serious health problems!

This post will explain some furniture painting techniques that are known to work on almost any piece of wood furniture. Let’s begin:

Continue reading Repainting Furniture Black or White

Make Staining Wood Easier With These Wood Finishing Techniques

Refinishing wood furniture is not as simple as you may think. Staining wood takes a little time and elbow grease, but the finished product will be well worth it. Check out my earlier article on for a detailed explanation of preparation when refinishing wood furniture. before you begin with the staining an old bookshelf, table, desk, etc. Once the existing finish is completely stripped you can follow the wood finishing techniques below to restore any wood of your choosing.

Continue reading Make Staining Wood Easier With These Wood Finishing Techniques